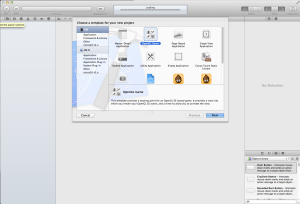
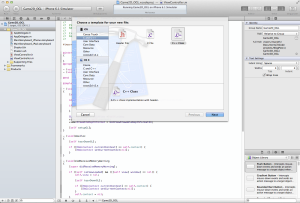
Introduction:
This post will be the first in a series of tutorials that attempts to get an OpenGL based application going for iOS devices initially.
The plan is to write as much code as possible in C++ so we can later port over this application for other platforms. The plan is to use only the basic really platform dependent code such as window creation as event handling to be dependent on the OS.
Another important consideration for me to have the app “automatically” “adjust” itself to screen resolutions so as to be screen resolution independent.
Requirements:
I am using Xcode 4.6.3 for these set of tutorials. I have used older versions of Xcode (4.2) and gotten all of this done in pretty much the same way.
We will later require some image editing software like photoshop or flash to export images into our application. I will try and keep external dependencies as low as possible.
Procedure:
</pre>
</div>
<div>#import "ViewController.h"

@interface ViewController ()

{

}

@property (strong, nonatomic) EAGLContext *context;

- (void)setupGL;

- (void)tearDownGL;

@end

@implementation ViewController

- (void)viewDidLoad

{

[super viewDidLoad];

self.context = [[EAGLContext alloc] initWithAPI:kEAGLRenderingAPIOpenGLES2];

if (!self.context) {

NSLog(@"Failed to create ES context");

}

GLKView *view = (GLKView *)self.view;

view.context = self.context;

view.drawableDepthFormat = GLKViewDrawableDepthFormat24;

[self setupGL];

}

- (void)dealloc

{

[self tearDownGL];

if ([EAGLContext currentContext] == self.context) {

[EAGLContext setCurrentContext:nil];

}

}

- (void)didReceiveMemoryWarning

{

[super didReceiveMemoryWarning];

if ([self isViewLoaded] && ([[self view] window] == nil)) {

self.view = nil;

[self tearDownGL];

if ([EAGLContext currentContext] == self.context) {

[EAGLContext setCurrentContext:nil];

}

self.context = nil;

}

// Dispose of any resources that can be recreated.

}

- (void)setupGL

{

[EAGLContext setCurrentContext:self.context];

glEnable(GL_CULL_FACE);

glBlendFunc(GL_SRC_ALPHA, GL_ONE_MINUS_SRC_ALPHA);

glEnable(GL_BLEND);

}

- (void)tearDownGL

{

[EAGLContext setCurrentContext:self.context];

}

#pragma mark - GLKView and GLKViewController delegate methods

- (void)update

{

}

- (void)glkView:(GLKView *)view drawInRect:(CGRect)rect

{

glClearColor(0.65f, 0.65f, 0.65f, 1.0f);

glClear(GL_COLOR_BUFFER_BIT | GL_DEPTH_BUFFER_BIT);

}

@end</div>
<div>
</pre>
</div>
<div>
#ifndef __Game2D_OGL__GameMain__

#define __Game2D_OGL__GameMain__

#include <iostream>

/*

This class will be our main game loop class

All the other classes that will be required by the game will be created here.

The viewcontroller class will only contain calls to this class's initialize, update and draw

*/

class GameMain

{

private:

public:

GameMain();

virtual ~GameMain();

void Initialize();

void Update(float elapsedTime);

void Draw();

void CleanUp();

};

#endif /* defined(__Game2D_OGL__GameMain__) */</div>
<div>
</pre>
</div>
<div>
#include "GameMain.h"

GameMain::GameMain()

{

fprintf(stderr, "\nGame Main Constructor");

}

GameMain::~GameMain()

{

fprintf(stderr, "\nGame Main Destructor");

}

//Game Loop Initialization done here

void GameMain::Initialize()

{

fprintf(stderr, "\nGame Main Initialize");

}

void GameMain::Update(float elapsedTime)

{

fprintf(stderr, "\nGame Main Update");

}

void GameMain::Draw()

{

fprintf(stderr, "\nGame Main Draw");

}

void GameMain::CleanUp()

{

}</div>
<div>
Once we have this class set-up we call its functions in the ViewController class to get the control into our Game Loop.
First we start of by creating a pointer to our game loop class in the viewController class
GameMain *_Main
In the ViewController’s “ViewDidLoad” method we add
_Main = new GameMain();

_Main->Initialize();
after
[self setupGL];
_Main->CleanUp();
- (void)update{

_Main->Update(self.timeSinceLastUpdate);

}

- (void)glkView:(GLKView *)view drawInRect:(CGRect)rect

{

glClearColor(0.65f, 0.65f, 0.65f, 1.0f);

glClear(GL_COLOR_BUFFER_BIT | GL_DEPTH_BUFFER_BIT);

_Main->Draw();

}


Reblogged this on Tech Craze.